Grow out of the stone healthy and fruitful plum is possible. This is a fascinating process consisting of many details that predetermine the success of the event.
It is important to choose the right planting material. and properly prepare it for planting, imitating as much as possible the natural conditions of development.
Table of contents
How can you grow plums at home: the necessary steps
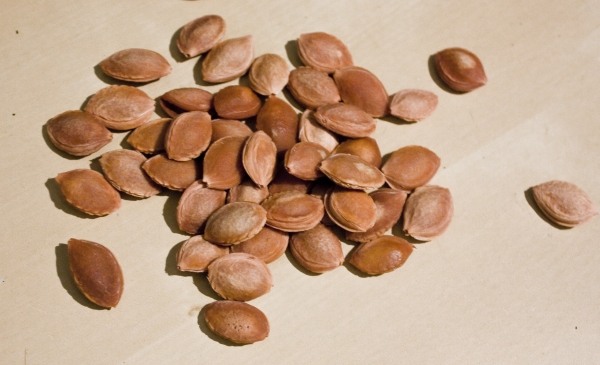
Selection of planting material
It is important to determine for yourselfthat planting the pit of the plum tree you like and growing a fruit tree with similar fruits is difficult. This is only possible with vegetative propagation.
The reason for this is cross-pollination by insects, during which the mixing of pollen of different varieties occurs. It changes the genetics of the fetus and bone.
Often these planting materials give the most unexpected results. A gardener can grow a wild plum with sour and unsuitable fruits at a dacha instead of a cultivated plant. In some cases, fruiting is completely absent.
We offer you the following publications:
The necessary qualities are different varieties and hybrids of plum species:
- Ussuriyskoy;
- Canadian;
- Chinese
If the purpose of planting the seed is to grow a frost-resistant scion for heat-loving crops, you can plant a bone of any zoned plum variety.
Only with the full ripening of the fruits in the bone does a full-fledged germ form, on which the germination and strength of the plant in the future depends. therefore ripe seeds are selected for planting, trees adapted to local climatic conditions.
It is better to select a few bonesso it is possible to guarantee maximum germination and choose a strong seedling for planting in open ground.
How to sprout a bone: stratification
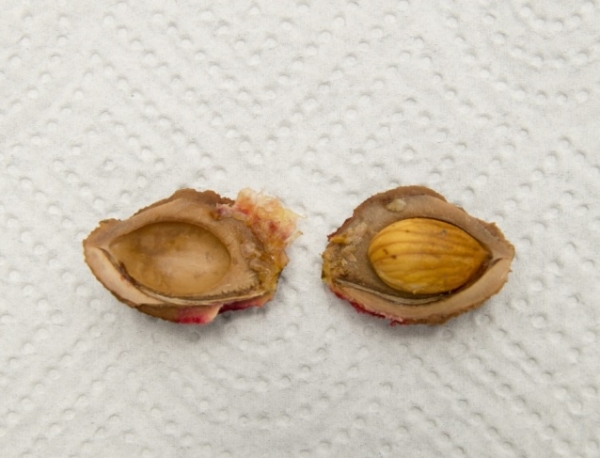
An important stage in the breeding of plums from the stone - stratification. This keeping the planting material in cold and wet conditions, which allows the germination of the bone, provokes the growth of the embryo and the subsequent rupture of the shell for its access to light.
As a substrate for stratification, you can choose:
- chopped moss;
- sawdust;
- large river sand;
- perlite;
- lowland peat.
After selecting the substrate, it is moistened and treated with a solution from potassium permanganate and water (5 g / 1l). Humidity inside the substrate should be at least 60%.
To check it can be squeezed in your hand. If everything is normal, a small amount of moisture will be released, and the substrate will retain its shape.
Before being placed in the substrate, the stones are kept for 3 days in water.by flooding them at half height.
Steeping promotes swelling of the membranes and washing away the inhibitors - substances that delay the germination of the embryo.
In the tank for stratification it is necessary to make side holes for air exchange, this will prevent the occurrence of fungal diseases. For the same purpose, the bones are located at a distance from each other. The surface is covered with polyethylene or glass.
Correct stratification - maintaining a certain temperature by periods. These are the stages:
- Warming up. Exposure of seeds in the substrate for 15 days at a temperature of + 15 ° - + 20 ° C. It is optimal to put the container on any warm place.
- Cooling. The temperature drops to + 1 ° - + 5 ° С. This period lasts 60-80 days. Capacity with stones clean on the bottom shelf of the refrigerator.
- Preseeding. The temperature is lowered to 0 ° —1 ° C for 20–35 days. Capacity can be removed in a cold basement. The level of germination strongly depends on compliance with this stage.
In this period need to control moisture. When mold develops, the substrate is sprayed with a 3% potassium permanganate solution.
About bone readiness for planting can be judged on cracked shell. It is important to put it as soon as possible on a comfortable place of temporary development.
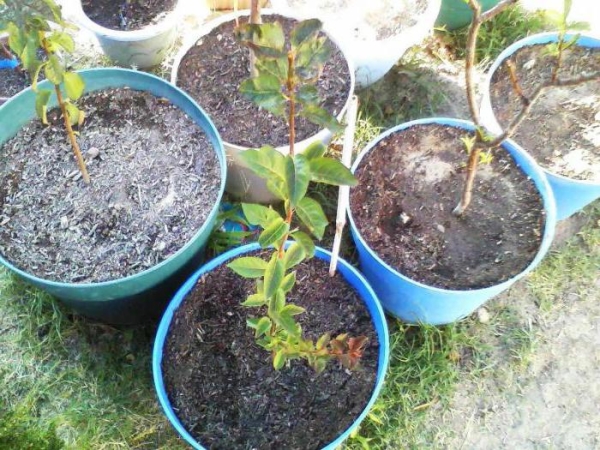
Growing a seedling
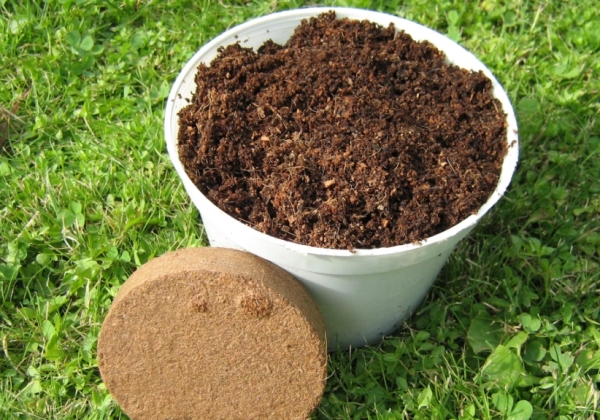
For planting seeds for seedlings need prepare a convenient pot with a diameter of at least 20 cm. Tanks are disinfected with 3% formalin solution.
At the bottom, a drainage layer of expanded clay or broken brick with a layer of 3-5 cm is required; a thin layer of coarse sand and charcoal is placed on top. Thus, the drain of an excess moisture and aeration of roots is provided.
The substrate of the components mixed in the same parts has such properties:
- humus;
- leafy ground or peat;
- vermiculite.
0.5 parts of calcined river sand or perlite are added to the soil mixture.
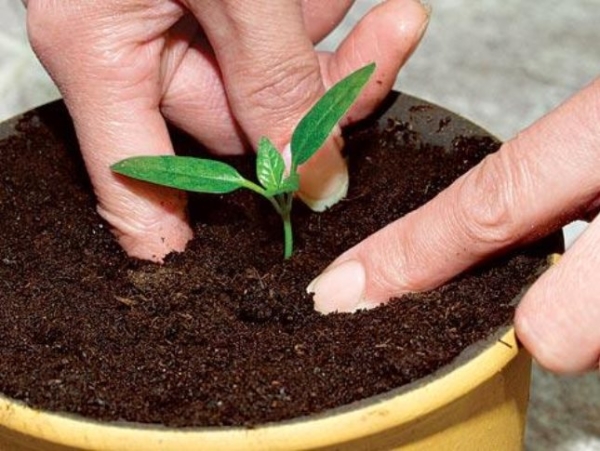
The substrate is placed in a pot and watered abundantly. The bone is placed in the center of the tank., deepening by 5 cm. After this, the pot must be wrapped with polyethylene. This creates mild greenhouse conditions, and a sprout will appear within 45 days.
During this period, the tank must be ventilated every day, lifting the covering material. Humidification produced by a spray every other day.
For proper seedling development at home, it is necessary to maintain optimal conditions:
- Lighting. Capacity put on a well-lit window sill without direct sunlight on the seedling. Ideal - south-west direction. In darkened rooms, it is advisable to install fluorescent lamps or enhance the reflection of the sun's rays with side mirrors.
- Microclimate. The optimum temperature for a seedling is + 20- + 25 ° С.It is important to monitor the humidity of the air. In dry rooms, spray air around the pot more often.
- Watering. Abundant, but rare. Enough to moisturize twice a week. Water should be at room temperature and must be separated. Under the pot you can put a pan with water until the substrate is completely saturated with moisture.
- Top dressing. From the moment of appearance of the first shoots to the end of the growing season, it is necessary to make three supplements with nitrogenous fertilizers. To do this, you can use a solution of ammonium nitrate and water (30 g / 10 l). Approximate consumption per plant 100 ml.
- Picking. In the period from the cotyledon to the appearance of two true leaves, you need to pinch 1/3 the length of the spine. This activates the formation of a strong and branched root system. After that, the seedling is planted in a new nutrient substrate, plentifully watered and shaded.
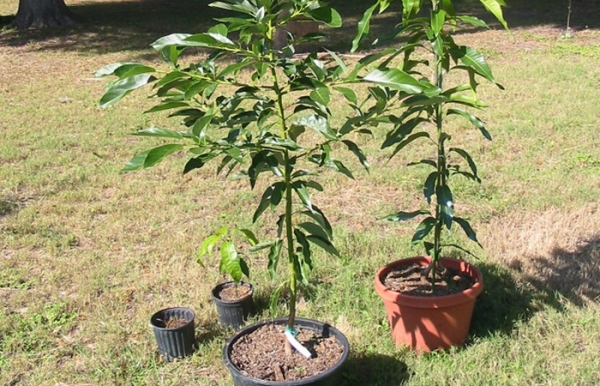
To not grow out of seedlings wild culture, it is transplanted into a new soil mixture and into a wider capacity every three months. The young tree can be transplanted into the open ground a year after planting the seed.
Pre-hardening. A week before planting every day, keep the seedling in the fresh air for 3-5 hours.
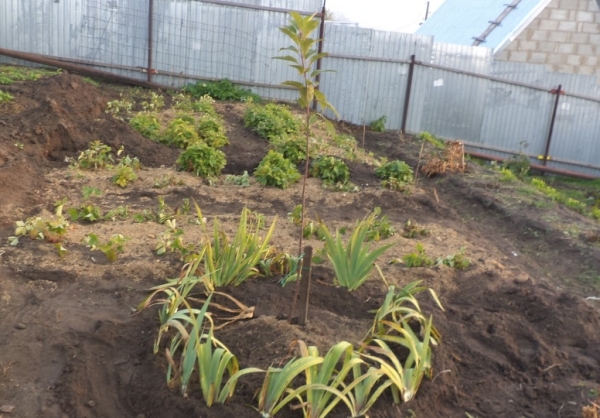
Transplanting seedlings in open ground
Ideal for plum planting a well-lit area with a gentle slope facing south or south-west. On this site, good aeration and stable heating of the soil.
In the low-lying area, a hill will need to be 50 cm high and 100 cm wide.
Groundwater should be below 3 motherwise anaerobic conditions are created for the roots, which lead to decay and impede full development.
Site preparation for the future of the tree
If transplanting seedlings planned for springA plot for a fruit tree is prepared in autumn.
For autumn planting, this should be done at the beginning of summer.. During this time, the soil will settle, structured, and complex compounds of minerals will take easily digestible forms.
The site must be re-dredged to 35 cm and fertilizer applied per 1 m2:
- manure or compost 6 kg;
- superphosphate 60 g;
- potassium salt 30 g
The upper part of the soil removed from the pit is deposited separately, it will be needed to form the substrate. At a distance of 30 cm from the center of the pit they stick a stake, a sapling will be tied to it.
Soil mixture to fill the pit:
- dung 2 buckets;
- river sand 2 buckets;
- superphosphate 30 g;
- potassium sulfate 20 g
The rest is complemented by a deferred turf ground. With high acidity, 300 g of limestone is added to the soil.
How to plant a sapling
At the bottom of the landing pit form a hill of prepared soil mixture. During the placement of the seedling it is necessary to straighten all the roots on the surface of the substrate. It is necessary to avoid bends in the upper direction.
By adjusting the height of the location, need to focus on the root neck, it should be 5 cm above the soil level. This prevents its subsequent penetration under the influence of shrinkage.
While falling asleep plum roots important to prevent the formation of voids. To do this, periodically shake the seedling stem.
After planting, the ground surface is tamped down, seedling plentifully watered and tie it to the cola with a soft material. Pristvolny circle is mulched with sawdust or peat.
Care after landing at the cottage
In the first two years of young plum development, fertilizers are not needed.. For the full nutrition of the tree enough elements that are made in the landing hole. Pristvolny circle should be kept in a constantly loose state, removing all weeds.
Young trees are especially sensitive to bark damage. Therefore, it is not necessary to allow friction of the barrel to the cola.
It is important to monitor the emergence of shoots. at the level of the trunk or from the roots. Superfluous shoots take away a lot of nutrients and the ability of the seedling to develop fully, so they are immediately cut out.
If the defeat of the seedling is large-scale, you need to use chemicals: "karbofos", "Aktellik", "Aktara".
Sapling needs provide regular hydration. Water should penetrate up to 40 cm deep.The frequency of watering must be adjusted on the basis of climatic conditions. It is important to prevent strong drying, to which the drain reacts very painfully.
Young plum need to carefully prepare for the first winter. Lay the layer of mulch at least 30 cm. All branches of the seedling are grouped and firmly fixed to the stake.
Until December you need wind the plum stem with a warm and breathable material. This will prevent the appearance of frost cracks - cracks that appear under the influence of temperature drops. Additionally insulate sapling snow pulling.
Young trees are attractive to rodentswhich are especially activated in the winter season in search of food. To protect the seedling, it is covered with spruce branches from all sides. Additionally treated with a mixture of mullein and clay (1: 1), the pungent smell which frightens off pests.
Therefore, it is important to observe all the rules of care, periodically carry out maintenance work and inspect the tree, the appearance of which always signals internal problems.